Showing posts with label Gardening. Show all posts

Jul 22, 2013

Backyard Makeover

When we first started talking about our plans for the backyard, we decided we'd take down the old clothesline, put up a new one, and put in a few plants. We debated whether or not to do "real" landscaping with mulch and the whole nine yards versus just sticking plants in the ground. After thinking it through, we decided to just put the plants in the ground.

And then we got a little carried away.

Once we got started, we thought, "If we're going to go to all this work, we might as well go all out."

One clothesline, three boxwoods, two mums, a lot of irises, a lilac, two bittersweet vines, two trumpet vines, several bags of mulch, 26 pavers, and a pergola later, I think we're finally finished... I'd say that qualifies as "going all out."

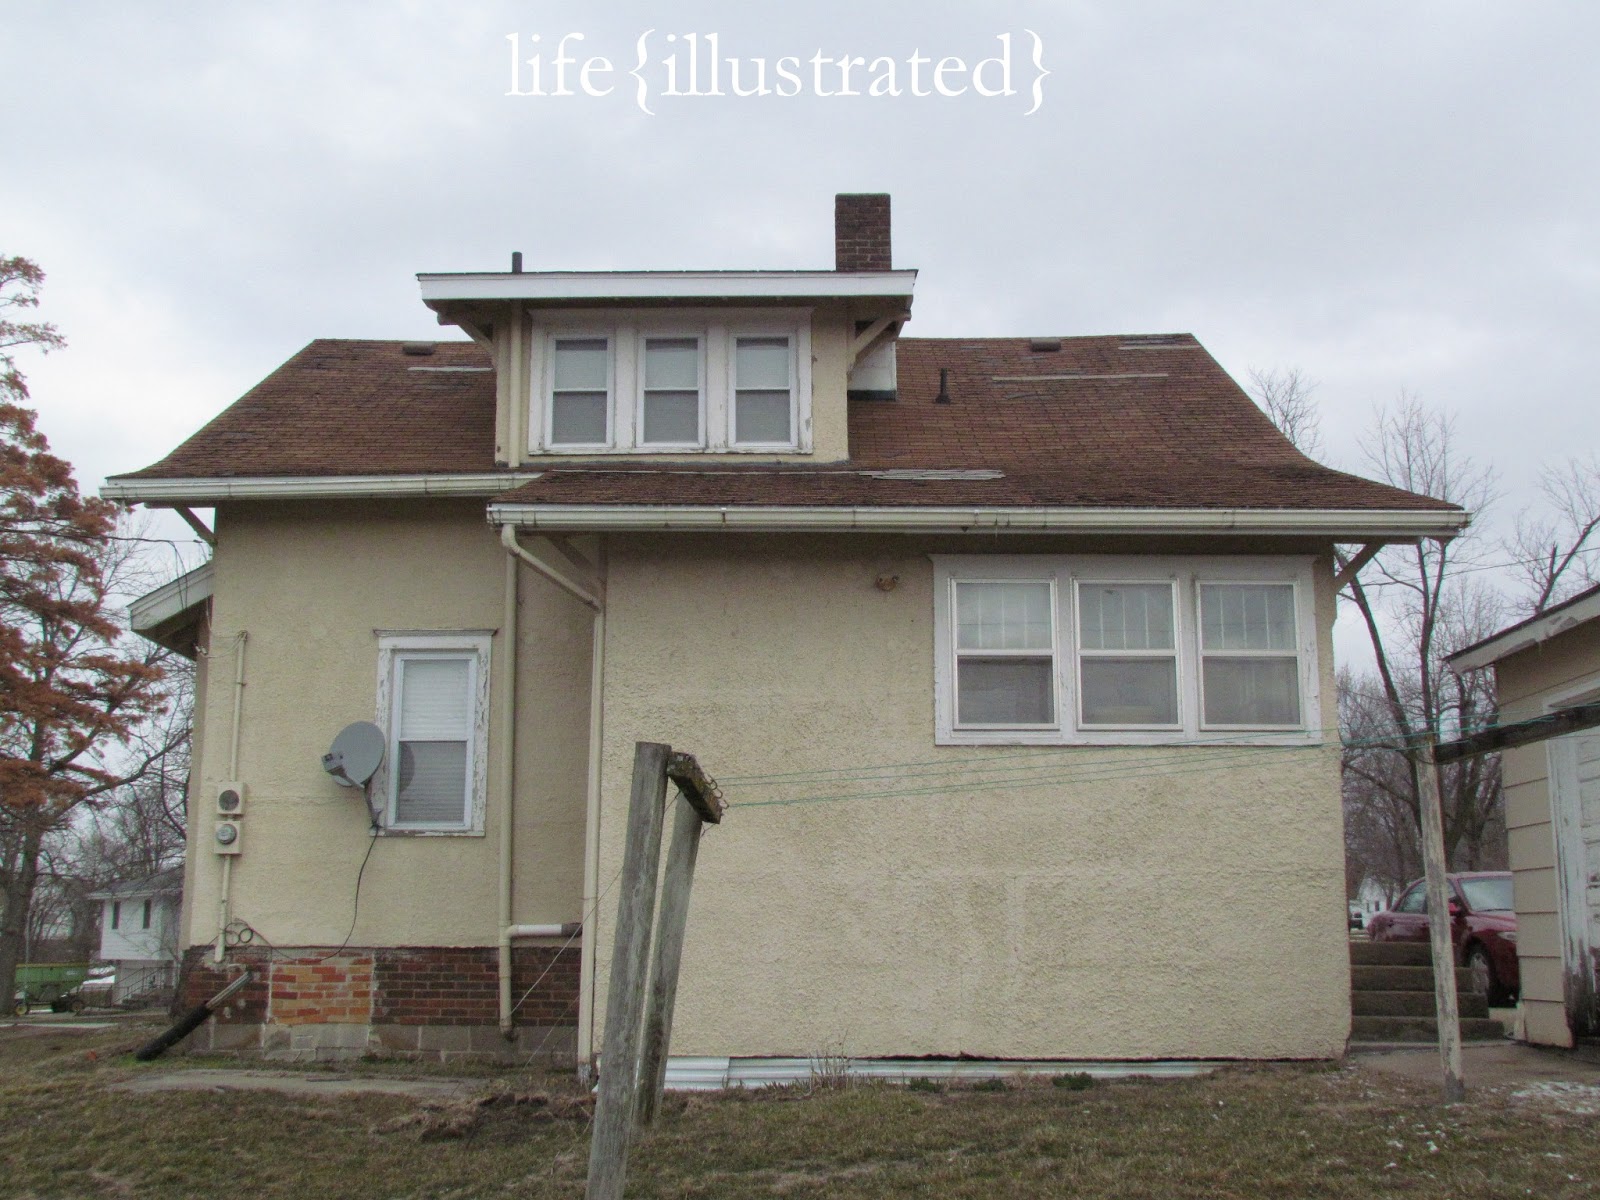
It's been a while since we shared our backyard inspiration board with you, so here is a before picture of the backyard for you.


Granted, everything looks a little drab in the middle of winter. But still, it was pretty sad.

Here it is now!


And here is a diagram to show you which plants are which. It'll be hard to tell from a distance until they get bigger. They spend the first year putting down roots, so they should grow a lot next summer.


We put in a lot of plants, but the best change by far is the pergola. Marshall built it for me as an anniversary/birthday gift!


Our yard doesn't really have any trees for shade, and because of all the different lines buried underground, we can't plant any. We planted vines at each of the posts, so the whole pergola should be covered next year!

Here is a before and after for you.


And just for fun, here are some other pictures from around the yard and house.


I hope you are enjoying your summer!

Jul 6, 2013

Front Yard Changes

We have absolutely loved having a space of our "own!" It worked out well that we moved in during the colder months and had plenty of time to do some interior work. Now that the weather is nicer, we've moved the work outdoors, starting with the front yard.

We didn't really change what was already here, but we added some plants and switched up the flower garden a bit.

The big picture:

They don't look like much now, but we planted two pear trees on either side of the yard. You need two to pollinate, so we planted a Bartlett and a Kieffer. They should produce a small amount of fruit this year, a medium size next year, and then the average amount from the third year on. All the rain we've had this year has been great for growing trees!

Since the trees did so well, we also planted a couple of Double Knock Out Roses. We want to eventually have a hedge across the front of the yard, so we're planning to add a couple of bushes each year. The blooms are gorgeous!


The flower beds were full of different types of hostas, but the draught finished off half of them last year, and I accidentally killed the rest. I planted Lily of the Valley- you know, the flower that even the blackest thumb can grow. Well, it didn't grow, so I ended up putting in some Impatiens. You can't see it yet, but there is some Astilbe and Caladium coming up behind the Impatiens.


We put planters on either side of the stairs with Bleeding Heart and some more Impatiens.


And, of course, no porch is complete without Boston ferns!


I am reusing my wreath from last summer, but I had to take everything off the foam form and use a straw form. After hanging all summer, the wreath was sagging. I'm hoping the straw form will hold up under the weight of the shells. I tied it off with a wire-edged burlap ribbon I found here.


The backyard is almost finished, and we'll show that next!

Jun 8, 2013

Just a Couple Things

Hello again!

Marshall and I have not missed blogging one bit; however, we agreed that we might post every now and then just for fun.

We are loving this new gingham quilt I made. It was so easy to put together, I plan to make another as soon as I get my sewing machine back from the repair guy. It's a long story.


I didn't take a picture of the finished product, but you get the idea... gray gingham + red binding = awesome quilt. It makes me want to go camping, which is saying a lot.

I just cut strips that were 5 inches x WOF, sewed the strips together down the long side, cut those down every 5 inches, and rearranged them to make the pattern. Make sense?

This has nothing to do with anything, but I cannot get enough of these peonies that are growing in our yard. How gorgeous is this?!


We have been thrifting like crazy, so be on the lookout for a living room update!

Mar 14, 2013

Backyard Plans

This is what our backyard looks like right now.


Sad.

But I have big plans for it! The first things to go will be the satellite dish and clothesline. We'll put up a "real" clothesline in a spot that won't take up the middle of the yard.

The small window on the left side of the picture is where the dining room is located. We want to make a pergola to stand on either side of the little concrete patio and just over the top of the window. We'd like to plant some wisteria to vine up the side and over the top of the pergola. We'll be able to enjoy it not just from the yard, but also from the dining room window.

The bank of windows to the right is where the kitchen porch is located. I'd like to put a lilac bush somewhere along the back of the house where it can be seen from those windows. I adore boxwood, so I'll add a few bushes in there somewhere. I'm still working on picking out some flowers to plant in the spaces.

We're also trying to think of some ways to create privacy between our house and the neighbor's house. There isn't much distance between the two. Marshall and I love eating outside when the weather is nice, and dinner with the neighbors, no matter how wonderful they may be, just isn't romantic.

My inspiration board:


Dreaming up a garden is whole lot more fun than planting one! Are you dreaming, too?

Sharing at:
House of Hepworths
Tatertots & Jello

Oct 12, 2012

This Week {illustrated}

It's been a busy week.  No, it's been a busy two weeks.  We made a last minute trip last weekend which quickly turned into making the same trip for the next couple of weekends.  I didn't even bother unpacking our suitcase.


In spite of the craziness, some things still had to be done.  I picked up a couple of pie pumpkins and a humongous butternut squash a couple weeks ago, and I decided it was time to do something with them.  I roasted the pumpkins and the squash (375 degrees F until soft: pumpkins- 1 1/2 hrs, squash- 2 1/2 hrs).  The seeds were scooped out, washed, soaked in saltwater, and roasted.  We've been loving the crustless pumpkin pie and butternut squash soup this week!


After boxing up my tomatoes last week, I came home to an entire flat full of ripe ones.  I picked an easy marinara recipe and froze a whole bunch for spaghetti.  I think I've earned a nap.

That's all for now...


Oct 8, 2012

Spaghetti Squash + Sauce= Squashetti

For years, I have wandered through the produce aisle wondering what in the world a spaghetti squash is.  Is it squash?  Is it spaghetti?  I don't remember having it in our home during my growing up years, and I turned out okay, so I never bothered with the squash.  My husband, on the other hand, was apparently given quite a bit of squash as a child, and he loves it.  I probably could have picked a more... normal... squash to work with for my first attempt, but after reading up on spaghetti squash, this one sounded easy to work with.  And it IS!  It really is just a matter of baking the squash to soften the insides and make the "noodles."  I don't have a picture of me scooping out the seeds and pulp, but the photos below show you what to do after that.


Enjoy your squashetti!


Oct 4, 2012

Ripening Your Late Tomatoes

I posted a picture several weeks ago of our enormous tomato plants.  This was our first attempt at gardening, and even though we don't have the best soil for it, we were determined to grow something.  The tomato plants certainly grew; the Big Boys grew to six feet!  Unfortunately, the tomatoes on the plants never ripened.  There were tons of huge, green, perfect tomatoes that just sat and did nothing.  There are several possible explanations, but I'm chalking it up to the extreme weather we've had.

Even though my tomatoes were green, I wasn't about to give up on them!  A friend told me of a method that her grandmother uses for all of her unripe tomatoes and the end of the season, and I decided to give it a whirl.  It is working so well that I thought I'd share it with you.

The first frost is expected within the next week, so I waited until this week to get started on my box.  You could do this throughout the summer, but tomatoes that are vine ripened have a better flavor.  For me, this was more of a last ditch effort to save the tomatoes before the frost.  

You will need:
A large cardboard box with a lid
2-3 flats that fit inside the box
newspaper

Of course, if you have more tomato plants (we had two Big Boys and two Romas), you'll need more boxes and flats.  Begin by picking all of the tomatoes off your plants.  If you have any that look like they'll ripen before frost hits, you can leave those on the plant.  Separate any tomatoes that have any hint of yellow or red color, and layer them in a flat.  Set it off to the side.  Make a layer of tomatoes in the bottom of the box.  Spread a layer of newspaper over the tomatoes (I used six sheets in each newspaper layer).  Fill a small flat with tomatoes and set on top of the newspapers.  Make another layer of newspaper to cover the flat.  Continue layering flats and newspaper until you fill up the box.  I only needed one box and only had two layers of green tomatoes.  Put your flat of the tomatoes that are changing color at the top of your box (so can easily check on them).


Place your lid on the box.  Store it in a cool, dark place.  We live in a basement, so no problem there!


Check the top flat every few days to see if your tomatoes have fully ripened.  Look through the lower layers as well, and rotate any ripening tomatoes to the top of the box.  This is how many of mine ripened after four days:


I've heard of people enjoying tomatoes all winter long with this method.  I'm thrilled that we can at least enjoy what we worked so hard to grow, even if they aren't fresh off the vine!  I'll probably use most of these up in chili, tomato soup, etc.


They've fallen back to second place and need YOUR vote!

Sharing today at:
Somewhat Simple