Feb 27, 2013

Ballard Inspired Vintage Egg Printables

Have you seen Ballard's new spring collection? As always, they've got some great selections. I'm always looking for seasonal art inspiration, and these vintage egg prints caught my eye.

{via}
They look very similar to some free vintage egg graphics from The Graphics Fairy. If you haven't visited her site, it's a must see! She has uploaded thousands of free vintage images.

You can probably guess what's coming next...

Rather than spending $139 for a set of six prints (who needs six egg prints, anyway?), I downloaded TGF's vintage egg graphics and made my own for FREE!


I love them! They are just the right amount of "spring" without looking too cheesy or juvenile.

These are not my graphics to share, but if you head over to The Graphics Fairy, you can do an image search for "eggs" and pick some out for yourself.

Savvy Southern Style
Gingersnap Crafts
House of Hepworths
Tatertots & Jello
Dear Lillie

Feb 26, 2013

A Snowstorm and Another Spring Wreath

We're in the middle of our second big snowstorm in one week. I really don't mind the snow, especially when Marshall and I don't have to be out in it.

Since we're stuck indoors, I thought I might as well make myself another spring wreath. Because, you know, spring is just around the corner, right?


This isn't really a tutorial, but I think you can figure it out just by looking at it. Yarn covered wreath form + pretty artificial flowers + printed pennant letters = really cute wreath.


I cannot say enough about these artificial blooms! Aren't they gorgeous?! They came from The Ben Franklin, and even though my in-laws own the store, and I am a little biased, I think these may the best fake flowers I've ever seen.


If you're still not convinced, stop by the store and see for yourself!

Skip to My Lou
Savvy Southern Style
Gingersnap Crafts
House of Hepworths
Tatertots & Jello
Dear Lillie

Feb 22, 2013

Salt Dough Robin's Eggs

How about an easy project to finish out the week?

I've been slowly taking down my Valentine's decorations and putting up some spring things. I have a lot of decorative things already, but after moving into such a large house, it seems that I always come up short. I know, I know... first world problem.

I've been really wanting some decorative eggs to place in my spring vignettes. I love the look of robin's eggs, especially these from World Market.

{via}
It was late last night, and I needed some eggs right away, so I thought I'd see if I could make my own. Don't get me wrong, World Market's are only $6.99, so it wasn't the price factor. I just wanted to see if I could do it.

And I did!


Here's the how-to:

Salt Dough Eggs
1 C flour
1 C salt
1/2 C water
4 drops of blue food coloring

Mix together. Add more flour if necessary (I added about 1/4 C). Shape into eggs and set on a wax paper lined baking sheet. Drying time will depend on egg size.


See? I told you it was easy!

Sharing at:
Savvy Southern Style
House of Hepworths
Tatertots & Jello
I Should Be Mopping the Floor
Skip to My Lou

Feb 21, 2013

Reading Nook Reveal

Two room reveals in one week- I'm feeling super productive! I've been dreaming of spring for a couple of weeks, and I realized that once it finally gets here, we probably won't make a whole lot of indoor progress. I thought I'd take advantage of being cooped up to finish off some of our smaller projects.

The reading nook is something that Marshall and I have both been really excited about. We enjoy reading and really wanted a place where we could go and not be distracted by phone calls, computers, housework, etc.

Our house has four bedrooms on the upper level, and we only use one. One of the bedrooms has a room off of it that is either meant to be a really huge closet or a small bedroom. Either way, it was the perfect space for our reading nook.

The room was pretty rough to start out.


The walls and ceiling were painted pale blue, but the ceiling had been patched up several times and not been repainted.


There were several wooden racks on the walls, but most of the hooks were broken off. Marshall removed all of the racks before we painted.

Before we started picking out colors and themes, we needed some furniture. We found the perfect chair and a bookshelf in the most unlikely of places for a whopping total of $17.


The chair smelled like smoke, and the cushions were in bad shape. After a little bit of work, though, it turned out nicely. And it's super comfy, too!


At first I thought I'd just recover the seat cushion and not bother with the skirt, but the chair really needed it to hide the rocker/swivel mechanism.

The bookshelf is the perfect size for the space. We had talked about painting it, but I really like the wood tones in the room. We can always change it later if we want to.


And what you've been waiting for...


We used up the rest of our Carriage Ride paint (leftover from the dining room, bedroom, and bathroom) on the walls and painted the ceiling white.

I love the color of the wood floors, but they were pretty beat up. We bought this rug for $20 at Aldi last year, and it fits the space well.

We couldn't forget about our nieces, nephews, and little friends!


I love this picture I picked up at Goodwill.


There is only one heating vent to the upstairs, and it's under our bedroom door. A cozy blanket is a must!


We're still looking for another chair to put in the reading nook. Maybe we'll find one that doesn't need any work...

This reveal wouldn't be complete without a side-by-side, so here you go:


Bring on the blizzard! I've got a cozy place where I can curl up with a good book!

Sharing at:
House of Hepworths
Savvy Southern Style
Miss Mustard Seed
Tatertots & Jello
Thrifty Decor Chick

Feb 18, 2013

Bathroom Reveal

The bathroom reveal has been a long time in coming. I started the bathroom makeover before Thanksgiving with the intention of finishing it before our Christmas open house.

It probably would have gone quickly if I hadn't bumped the hose that connects the toilet to the water supply and flooded the bathroom.

It wasn't my brightest moment.

There is a lot of pressure behind that water supply.

No worries. My father-in-law came to the rescue before the whole house went under. The bathroom is dry, and the toilet is once again in working order.

Almost three months later, I finally got motivated to get back in there and finish painting. And I'm so glad I did.

Here are some before shots.
Problem #1: The trim around the doors has been painted white, and the baseboards were two different shades of stain.


Problem #2: The counter is gray, there is white tile on the wall to the left of the sink, and then there is this gray/white/brown marble-ish paneling behind the toilet.

Problem #3: All of the walls had been painted brown except for the wall above the toilet.


Problem #4: There were towel racks and hooks all over the place.


It seemed like four separate problems, but really, it was just one: the bathroom had been patched up so many times that there wasn't a common theme.

Our goal was to create one color scheme throughout the bathroom. Keep in mind that we don't own the house, so we couldn't remove tile, paneling, flooring, etc.

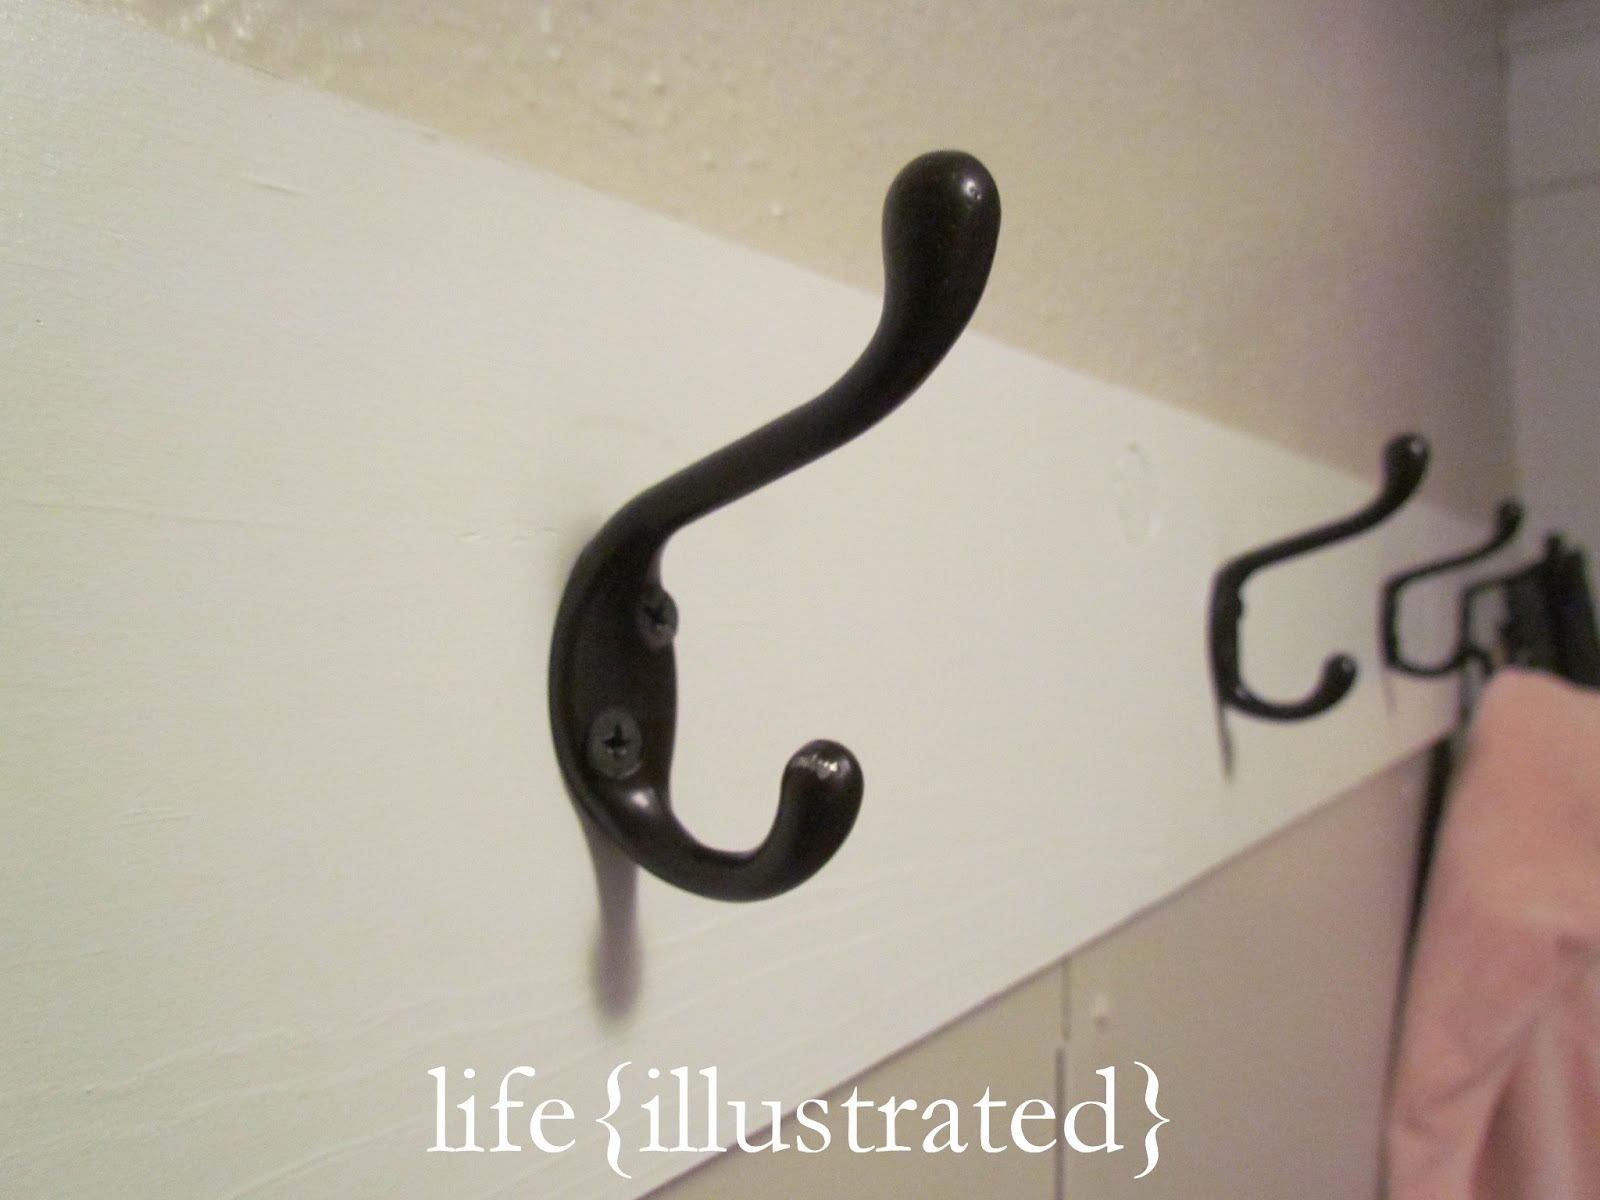
We started by taking down all of the towel bars and hooks. We replaced them with one board that has five matching hooks on it.


We used one of the bars we had taken down and put it up by the sink for a hand towel. We could have purchased a new towel bar that looked nicer, but this one still works.


The vanity drawers and doors didn't have any hardware on them, so we added some knobs that were left over from the kitchen makeover.

I would have loved to rip out the weird mirror storage thing and the light fixture above the sink, but once again, we don't own the house.

We painted the walls Carriage Ride by True Value, which is the same color we used in the dining room and master bedroom. The bathroom doesn't get much natural lighting, so it's hard to tell the exact color. Here is the color swatch from True Value's site.


Before painting over the paneling, we primed it with our favorite Zinsser 1-2-3 Cover Stain primer.


Yes, that is a Goodwill bag in the trash can. Just keeping it real.


We painted the baseboards white to match the trim on the doors.


I bought this shower curtain at Target last summer. I still love it!


The last change we made was to cover the window with frosting spray. It allows us to let in the small amount of light we do get while maintaining our privacy.

The bathroom is a long, narrow room. Combine that with the lack of daylight, and the pictures don't do it justice! You may not be able to tell much of a difference by the before and after pictures, but we are really enjoying the finished product. Having one central theme really makes the space feel clean and crisp- just as bathroom should be!

Sharing at:
Savvy Southern Style
House of Hepworths
Tatertots & Jello

Feb 15, 2013

Goodbye V-Day, Hello Spring!

I promise, these will be my last words regarding this year's Valentine Banquet. It will be starting at about this time tomorrow evening, and I'm so excited about how everything has come together.

Remember when I said that we just needed fresh flowers to finish the decorating?

Well, I was struck with a brilliant idea.

Why not just stick the krispie pops in the vases and save $20 worth of flowers?!


And that is just what I did. Aren't they cute?!


Those were just to make you drool.

Now, on to Spring! I always love the season we are in, and I'm always eager to welcome the next one in when it's time. It's a little bit early to be thinking about spring, but I wanted to switch out my Valentine wreath, and we don't really celebrate St. Patrick's Day. So, spring wreath it is!

I found a wreath in really great shape at a thrift store last week.


I cut our monogram out of a piece of cardboard box...


... and then I wrapped it with leftover yarn so the back and sides of the finished product wouldn't be exposed.


I hot glued moss to the front of the monogram and then glued it to the wreath. I added a little bird's nest I picked up somewhere last year and some gorgeous flowers I found here (more on that soon).


This may be the easiest and quickest wreath I've made yet!


Sharing at:
Savvy Southern Style
House of Hepworths
Tatertots & Jello
I Should be Mopping the Floor

Feb 13, 2013

Cherry Rice Krispie Pops

We are busy making last minute preparations for our church's Valentine Banquet, hence the lack of posts.

Other than fresh flowers, the decorating is complete.

(This was taken before the place settings were complete.)

place card graphic courtesy of The Graphics Fairy


Now it's time to prepare the food. It's a little early to do too much, but these krispie pops will stay fresh until the banquet... if they last that long!

Cherry Rice Krispie Pops
{click to print}

Ingredients:
4 TBS butter
6 C (one 10.5 oz pkg) mini marshmallows
1 packet of flavored gelatin (I used cherry)
6 C Rice Krispie cereal

Optional:
white candy melts
Valentine sprinkles
lollipop sticks


Melt the butter in a large pot on low. Add the gelatin and marshmallows, and stir until the marshmallows are melted and gooey.


Add the cereal, and stir until well mixed. Pour the mixture onto a greased cookie sheet or a 9 x 13 baking dish. Use a buttered spatula, wax paper, or a buttered ziploc bag (worn as a glove, and yes, I made that up today) to press the mixture evenly across the pan.


Allow the mix to cool completely. You can stop here and cut the krispies into bars, or you can keep going and make krispie pops.

For krispie pops, use a cookie cutter to cut out individual sized pieces.


Stick a lollipop stick about one inch up through the bottom of the piece.


Melt the candy melts according to the directions on the bag, and drizzle over the krispie pops.


Add sprinkles before the candy hardens.


Yum! If you don't want to bother with the lollipops, you can still drizzle the candy coating and sprinkles on the krispie bars before cutting them. Enjoy!

Sharing at:
Savvy Southern Style
Ginger Snap Crafts
House of Hepworths
Tatertots & Jello