Showing posts with label DIY. Show all posts

Apr 15, 2013

IKEA Magazine File Knock Off


Do you ever refrain from buying something that you don't need and then end up needing it almost as soon as you walk out of the store? That seems to be the story of my life.

I spotted some fabric covered magazine files last year at IKEA that I really liked, but I didn't need them at the time. I do get a few magazines in the mail, but I don't hang onto them for long and didn't need the extra storage.

About two weeks after that trip to IKEA, Marshall accepted his position here as a pastor, and we moved to our current home. Do you know how much mail a pastor gets?! And how many magazines?! I kept thinking to myself that I wished I would have bought those magazine files when I had the chance.

We don't have an IKEA nearby, and even if I did, the magazine files I had my eye on have been discontinued. I was able to find a picture of them on the internet, though, so I decided to make my own.

The inspiration:
IKEA's Kvarnvik Magazine File

We recently ordered some photobooks from MyPublisher (I highly recommend them- much better quality than other photobooks we've ordered!), and the boxes they came in were the perfect size.


I started by cutting the boxes to the shape I wanted.


Then, I laid the box down over some burlap. I cut out around the outline of the box, leaving about an inch extra all the way around.


I hot glued the burlap to the sides of the box and then doubled the edge over and hot glued it to the inside of the box. That gave it a nice, finished look.


And the final product:


So much for discontinued!

Mar 13, 2013

Waterproof Drawstring Backpack

We are planning a trip to Disney World (more on that later), and something that I always take when I go is a drawstring backpack. They're lightweight enough to wear all day, and they can hold quite a bit. The only problem is that I haven't found any that are waterproof. I usually end up taking a whole bunch of ziploc bags to keep my camera, phone, etc. safe on water rides, but it can be a bit of hassle having everything stuffed in ziploc bags and then stuffed into a larger bag.

I thought I'd look online for some kind of a wet bag that could be worn as a backpack but didn't find anything that was quite right. So, I decided to make my own!

You know how some people cook a fabulous meal and when asked for the recipe, their response is that they just threw a bunch of stuff together? I not only do that when I cook, but I also do it when I sew. I'm kind of a "cut and paste" kind of girl, and that's probably partially because I just taught myself to sew over time. It doesn't lend itself to very thorough tutorials, so consider this as more of an if-I-can-do-it-you-can-too post.


Here is my sketch of bag measurements that I used while I was planning and constructing.


I bought this napkin at Target almost a year ago and had no idea what I would do with it. It was on clearance for about a dollar, and it was just too cute to pass up. It's 18 inches square, and I thought it would be the perfect size for a backpack. I ripped out the top seam (and tag) and opened the napkin so it could be used as the outer part of the bag.

I ordered some PLU (waterproof fabric) online for the inner lining. PLU can be a little tricky to work with. The fabric side is slippery, the shiny side is sticky, it can't be ironed or put in the dryer, and you aren't supposed to pin it (pin holes allow water in). Since I hadn't used PLU before, I practiced sewing on a small piece before tackling the bag.

A drawstring enclosure isn't very water tight by itself, so I added a zipper at the top of the bag. The bag wouldn't cinch up very well if the zipper was right at the top, so I placed the zipper about five inches below the top of the bag.


Since there isn't any point in waterproofing the bag above the zipper, I just used cotton for the top part.


I added a waterproof interior pocket to the bag for things like cell phones and room keys.


Nylon parachute cord worked well for the drawstrings. You'll need about 60 inches of cord for each side, and you can see in my sketch how I strung the cord through the casing. If you string it through the casing and loop it around each side, you will create "straps" when you pull the string to close the bag. Does that make sense?

I opened about an inch of the side seams at the bottom of the napkin to insert the cord. I sewed over the cord, backtracking several times to secure it well.

I should have tried on my bag before I sewed the cord in; the straps are perfect for Marshall but a little bit long for me. I tied the excess into a bow at the bottom, and I think it's actually kind of cute!


The bag is just the right size for an adult, and I think it will make life much easier if we can just toss things into the bag and go. I can't wait to test it out!


Functional and CUTE!

Sharing at:
Savvy Southern Style
Gingersnap Crafts
Skip to My Lous
House of Hepworths
Tatertots & Jello

Mar 4, 2013

No-Sew Vintage Seed Packet Garland


Here is a project that is sure to lighten your spirits on the dreariest of winter days! It worked for me, anyway. This seed packet garland is super easy, so I thought a photo tutorial would be fun. Enjoy!


Mar 2, 2013

Life Lessons and a Ballard Message Board Knock Off

In case you haven't noticed, I have been loving the knock offs lately. Especially the Ballard and Pottery Barn type, because, let's face it... I will never be able to stomach paying what they charge, especially when God has blessed me with a creative mind and the ability to recreate.

You see, I've been learning a very important lesson.

Materialism = unhappiness.

It started when we attended an auction several months ago. A sweet, older lady had to move in with family because she is no longer able to care for herself. They held an auction and sold nearly everything she had. Like me, she appreciated and loved pretty things and had acquired quite a lot over her lifetime. There were a lot of antiques and collectible items as well as some really beautiful paintings and furniture. As is typical of an estate sale, most of the items were auctioned off for much less than they are worth. I felt so sorry for this lady as she watched people paying a dollar here or there for these things that had been so special to her. It made me wonder what my end-of-life estate sale would look like.

In addition to that experience, we have broken an astonishing number of things over the past couple of months (including cracking the windshield on our car just as we were getting ready to sell it). I'm ashamed to admit it, but my first thought is usually, "How much did we spend on that? Can it be easily replaced?" Most of the time, the answer is "No." And then I struggle with my attitude when I realize that money was wasted.

My conclusion?

If I am going to buy something, it has to (a) serve a legitimate purpose and (b) only cost as much as absolutely necessary. If I spend too much money on something, it becomes too special. Too precious. And then I want to protect it, because I spent all that money on it. So rather than owning material, material owns me.

Materialism = unhappiness.

If a dish I bought at Goodwill gets broken or a shirt I bought for a couple dollars on clearance gets stained or shrinks, no big loss. It can be easily and inexpensively replaced.

So there you have it. I realize this is kind of a deep preface to a message board tutorial, but this subject has been really weighing on me. Would I have spent $219 on a message board at Ballard Designs? Never. I would be tormented if it ever got a snag or stain. But I can handle covering a $2 bulletin board I found at the thrift store. If anything happens to it, I certainly won't be broken-hearted.

My inspiration:

{via}
We've always just had one computer desk, but now that Marshall is studying and preparing sermons at home, we needed to have separate work spaces. We have our desks at opposite corners of the office, and Marshall really needed to have a message board near his desk for all of the church related mail and documents that come his way. I thought this would be the perfect look- not boring but not too "pretty."

As I mentioned earlier, we found a large bulletin board for $2 at a thrift store.


All it needed was some burlap and upholstery nails to finish the look.


I laid the burlap over the board, attached it around the edges with the nails, and hot glued the extra fabric to the back. So easy.


Feb 26, 2013

A Snowstorm and Another Spring Wreath

We're in the middle of our second big snowstorm in one week. I really don't mind the snow, especially when Marshall and I don't have to be out in it.

Since we're stuck indoors, I thought I might as well make myself another spring wreath. Because, you know, spring is just around the corner, right?


This isn't really a tutorial, but I think you can figure it out just by looking at it. Yarn covered wreath form + pretty artificial flowers + printed pennant letters = really cute wreath.


I cannot say enough about these artificial blooms! Aren't they gorgeous?! They came from The Ben Franklin, and even though my in-laws own the store, and I am a little biased, I think these may the best fake flowers I've ever seen.


If you're still not convinced, stop by the store and see for yourself!

Skip to My Lou
Savvy Southern Style
Gingersnap Crafts
House of Hepworths
Tatertots & Jello
Dear Lillie

Feb 22, 2013

Salt Dough Robin's Eggs

How about an easy project to finish out the week?

I've been slowly taking down my Valentine's decorations and putting up some spring things. I have a lot of decorative things already, but after moving into such a large house, it seems that I always come up short. I know, I know... first world problem.

I've been really wanting some decorative eggs to place in my spring vignettes. I love the look of robin's eggs, especially these from World Market.

{via}
It was late last night, and I needed some eggs right away, so I thought I'd see if I could make my own. Don't get me wrong, World Market's are only $6.99, so it wasn't the price factor. I just wanted to see if I could do it.

And I did!


Here's the how-to:

Salt Dough Eggs
1 C flour
1 C salt
1/2 C water
4 drops of blue food coloring

Mix together. Add more flour if necessary (I added about 1/4 C). Shape into eggs and set on a wax paper lined baking sheet. Drying time will depend on egg size.


See? I told you it was easy!

Sharing at:
Savvy Southern Style
House of Hepworths
Tatertots & Jello
I Should Be Mopping the Floor
Skip to My Lou

Feb 18, 2013

Bathroom Reveal

The bathroom reveal has been a long time in coming. I started the bathroom makeover before Thanksgiving with the intention of finishing it before our Christmas open house.

It probably would have gone quickly if I hadn't bumped the hose that connects the toilet to the water supply and flooded the bathroom.

It wasn't my brightest moment.

There is a lot of pressure behind that water supply.

No worries. My father-in-law came to the rescue before the whole house went under. The bathroom is dry, and the toilet is once again in working order.

Almost three months later, I finally got motivated to get back in there and finish painting. And I'm so glad I did.

Here are some before shots.
Problem #1: The trim around the doors has been painted white, and the baseboards were two different shades of stain.


Problem #2: The counter is gray, there is white tile on the wall to the left of the sink, and then there is this gray/white/brown marble-ish paneling behind the toilet.

Problem #3: All of the walls had been painted brown except for the wall above the toilet.


Problem #4: There were towel racks and hooks all over the place.


It seemed like four separate problems, but really, it was just one: the bathroom had been patched up so many times that there wasn't a common theme.

Our goal was to create one color scheme throughout the bathroom. Keep in mind that we don't own the house, so we couldn't remove tile, paneling, flooring, etc.

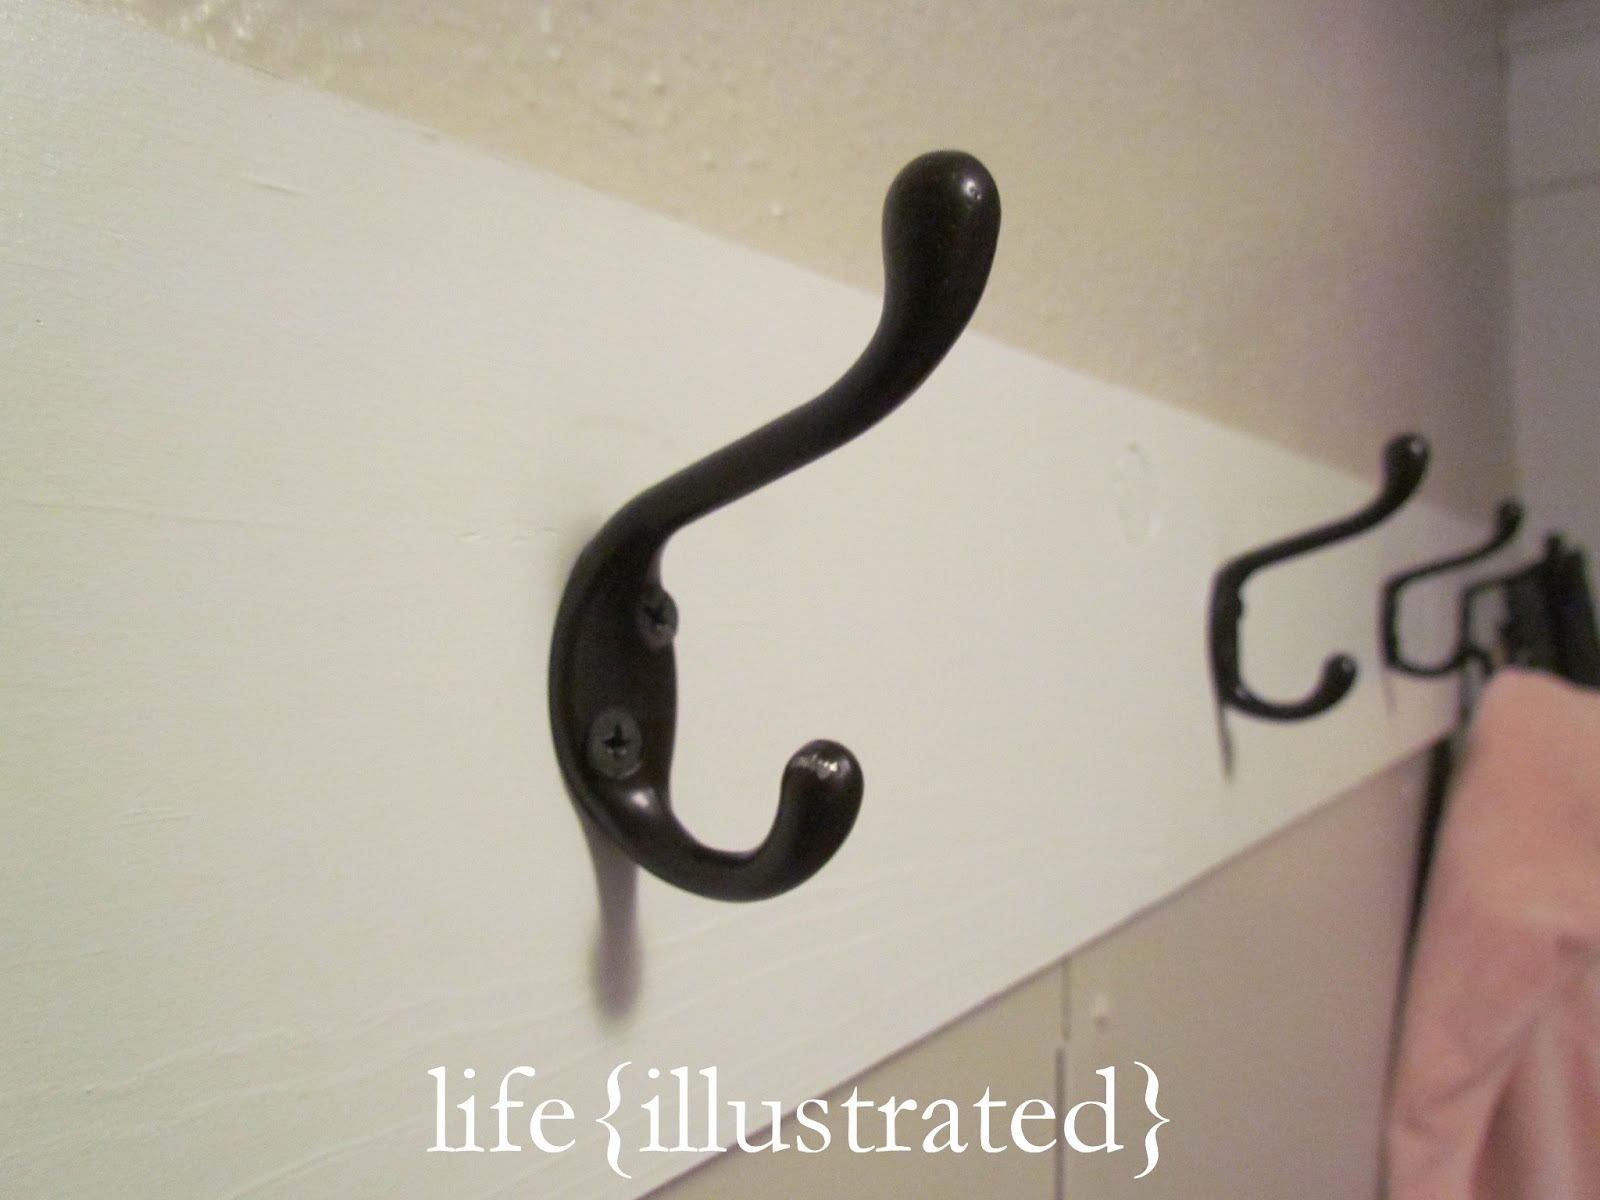
We started by taking down all of the towel bars and hooks. We replaced them with one board that has five matching hooks on it.


We used one of the bars we had taken down and put it up by the sink for a hand towel. We could have purchased a new towel bar that looked nicer, but this one still works.


The vanity drawers and doors didn't have any hardware on them, so we added some knobs that were left over from the kitchen makeover.

I would have loved to rip out the weird mirror storage thing and the light fixture above the sink, but once again, we don't own the house.

We painted the walls Carriage Ride by True Value, which is the same color we used in the dining room and master bedroom. The bathroom doesn't get much natural lighting, so it's hard to tell the exact color. Here is the color swatch from True Value's site.


Before painting over the paneling, we primed it with our favorite Zinsser 1-2-3 Cover Stain primer.


Yes, that is a Goodwill bag in the trash can. Just keeping it real.


We painted the baseboards white to match the trim on the doors.


I bought this shower curtain at Target last summer. I still love it!


The last change we made was to cover the window with frosting spray. It allows us to let in the small amount of light we do get while maintaining our privacy.

The bathroom is a long, narrow room. Combine that with the lack of daylight, and the pictures don't do it justice! You may not be able to tell much of a difference by the before and after pictures, but we are really enjoying the finished product. Having one central theme really makes the space feel clean and crisp- just as bathroom should be!

Sharing at:
Savvy Southern Style
House of Hepworths
Tatertots & Jello

Feb 15, 2013

Goodbye V-Day, Hello Spring!

I promise, these will be my last words regarding this year's Valentine Banquet. It will be starting at about this time tomorrow evening, and I'm so excited about how everything has come together.

Remember when I said that we just needed fresh flowers to finish the decorating?

Well, I was struck with a brilliant idea.

Why not just stick the krispie pops in the vases and save $20 worth of flowers?!


And that is just what I did. Aren't they cute?!


Those were just to make you drool.

Now, on to Spring! I always love the season we are in, and I'm always eager to welcome the next one in when it's time. It's a little bit early to be thinking about spring, but I wanted to switch out my Valentine wreath, and we don't really celebrate St. Patrick's Day. So, spring wreath it is!

I found a wreath in really great shape at a thrift store last week.


I cut our monogram out of a piece of cardboard box...


... and then I wrapped it with leftover yarn so the back and sides of the finished product wouldn't be exposed.


I hot glued moss to the front of the monogram and then glued it to the wreath. I added a little bird's nest I picked up somewhere last year and some gorgeous flowers I found here (more on that soon).


This may be the easiest and quickest wreath I've made yet!


Sharing at:
Savvy Southern Style
House of Hepworths
Tatertots & Jello
I Should be Mopping the Floor