


I decided to take on a rather large project this week. I've always realized that my kitchen doesn't have a lot of counter space. We live in a basement, and while it was built with the intent of housing people, I'm not sure that they had long-term live-ins in mind. The basement kitchen was more of a holiday overflow space, and I don't think that a whole lot of cooking happened in it until we moved in.
 |
| Not much to work with... |
 |
| This ten foot wall is totally blank. The cabinet on the left end is free-standing and has a removable counter. I stacked crates on a little table for food storage when we moved in. Time for a change! |
I bought a dresser for $5 at a garage sale a couple of weeks ago. It was extremely junkie, but I loved the vintage glass knobs. Those can be pretty pricey, so I thought that even if the dresser wasn't good for anything, I'd at least salvage the knobs.

And then I had a "light bulb" moment. Why not paint the dresser and free-standing cabinet, put them at opposite ends of the blank wall, and put a counter across the top of them? And that's exactly what we did.

Marshall has been working a lot of overtime this week, so I tackled most of this project myself. I went to the lumber yard and picked up two 1x12s and glued them together with Liquid Nails. I had them sitting outside to dry, and it got too cold overnight for the glue. I took the clamps off, and the boards completely separated. Fail #1.
I brought the boards inside to glue again, and I set them across the dresser and cabinet. The boards were not wide enough. Apparently, when you buy lumber, 12 inches really means 11 1/4 or 11 1/2 or whatever the 12 inch board ended up as after it was planed. Fail #2.

So I went back to the lumber yard, bought a 1x4, and glued the three boards together. Much better! Honestly, I like how it looks with the three boards, so it worked out well in the end. Lesson learned!

After letting the glue dry for 24 hours, I sanded the boards and wiped them down. I put some wood conditioner on them to prevent blotching, let it sit for 15 minutes, and then wiped the excess off with a clean rag.

I applied three coats of Minwax Dark Walnut stain, waiting four hours in between each coat. I applied the final coat at 8:30 PM and told Marshall that I had to stay up until 12:30 so I could put the first coat of polyurethane on it. We popped in a movie, made some popcorn, and waited for the stain to dry. And then, at about 11:45, I realized that I had to wait eight hours before applying polyurethane on top of stain, not just four. We went to bed exhausted and had to be up early the next morning. Fail #3.

I applied one coat of polyurethane, let it dry for four hours, lightly sanded it with 220 grit, and applied a second coat. After twenty four hours of drying, it was ready for use!

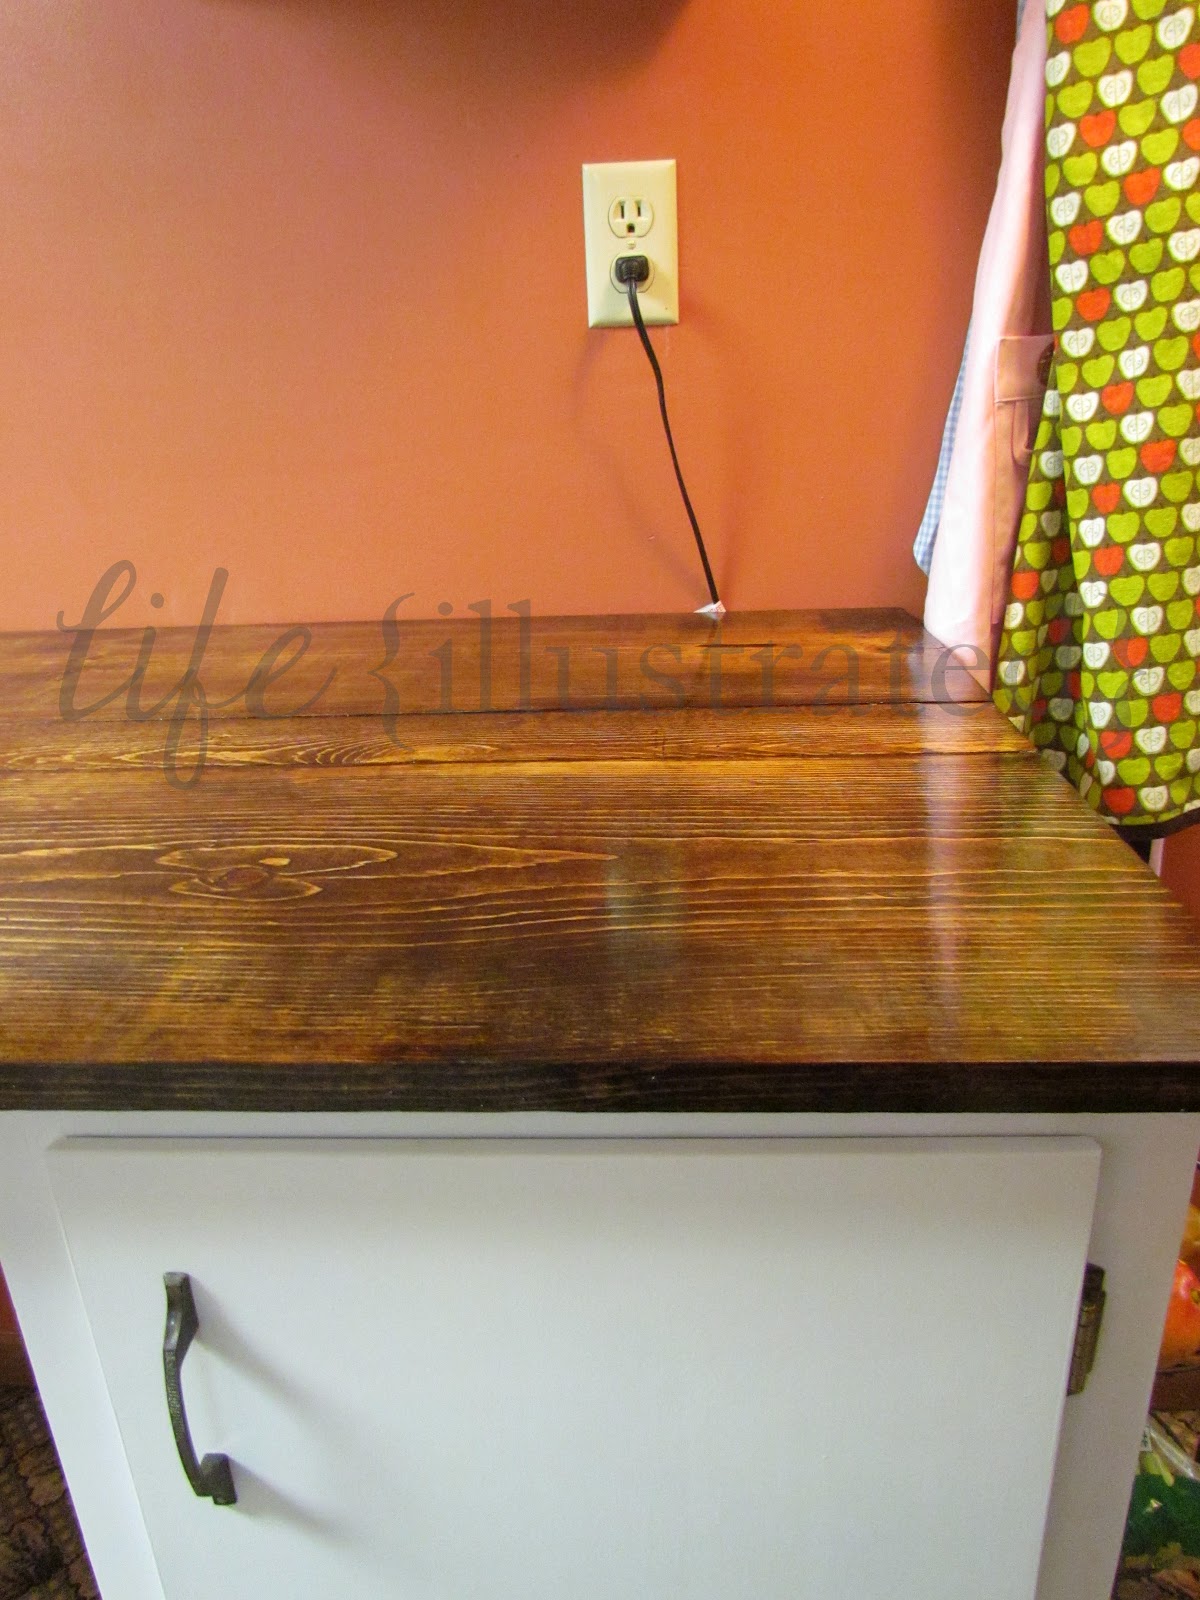
Keep in mind that this "counter" will not be used like a regular kitchen counter would be. I doubt that it would hold up well to moisture or extreme heat, but it will certainly get a lot of other use. It more than doubles the counter space I had before!

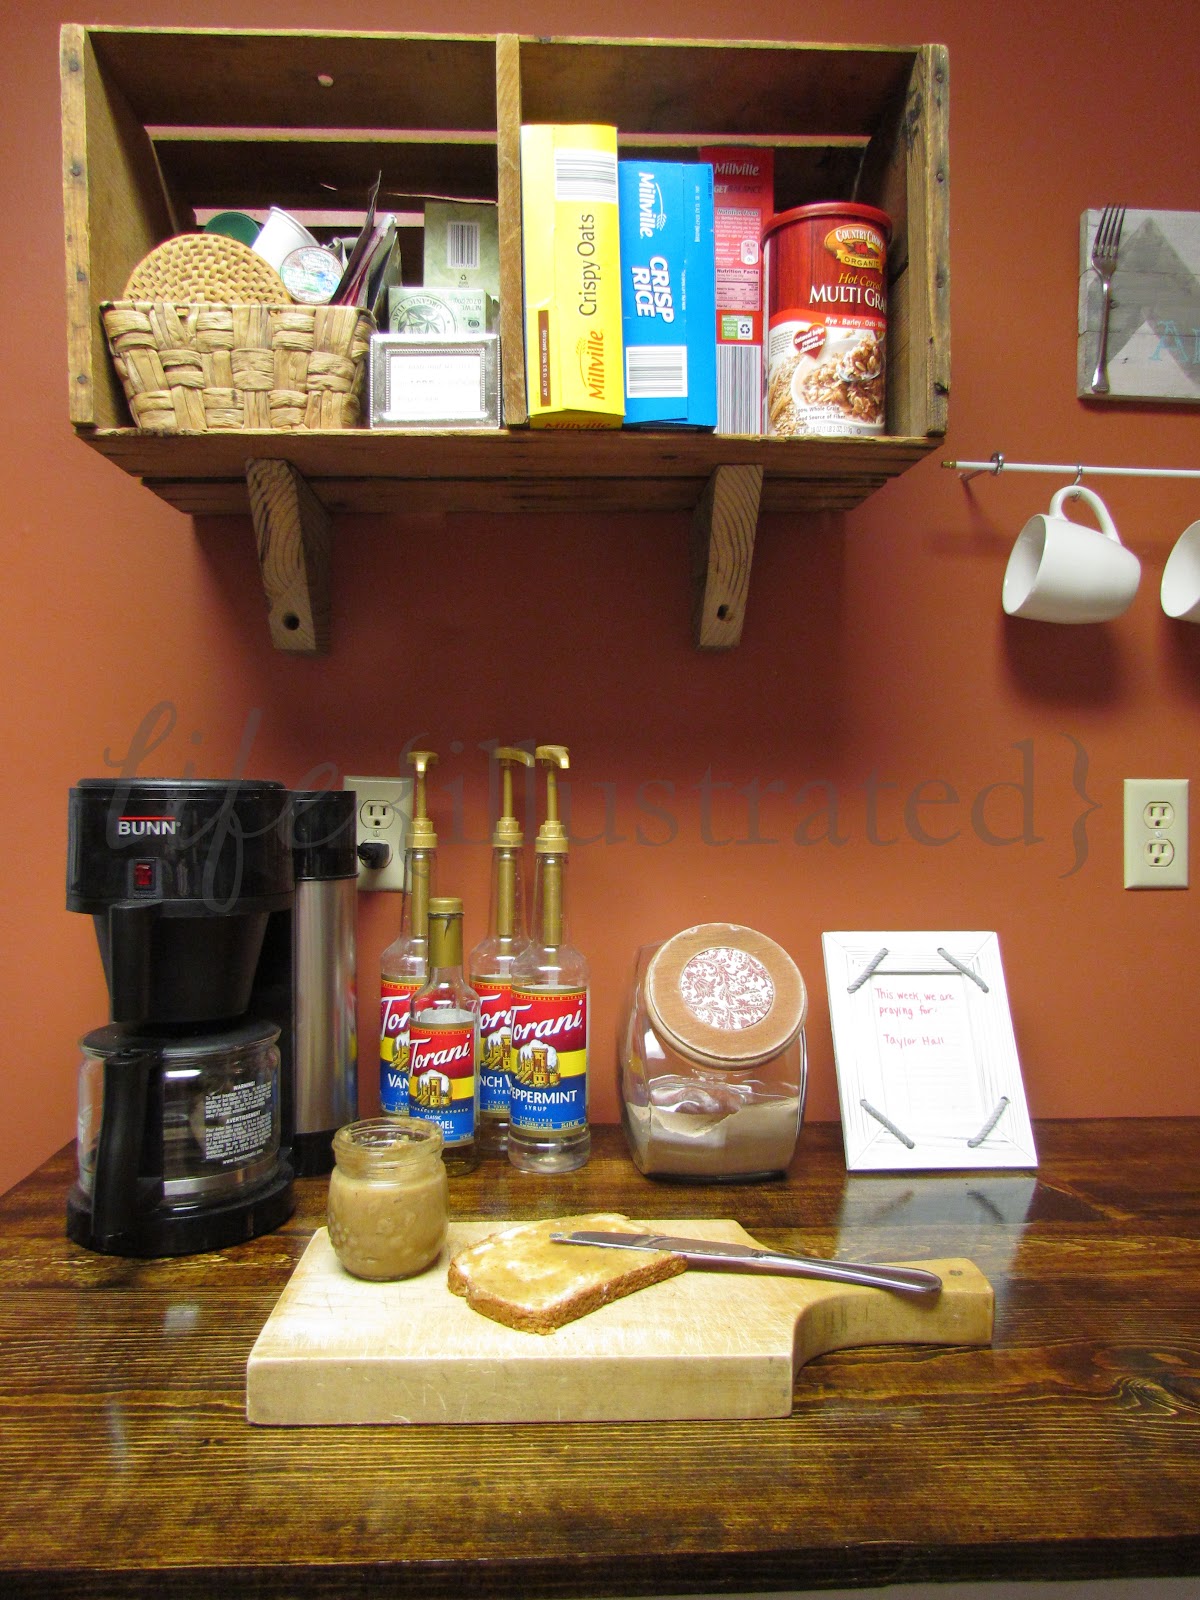
I'm still using the antique crates for storage, but Marshall hung them for me so I could free up the counter space. The glass knobs don't really fit with this look, but they open the drawers. Right now, that's okay with me.


I made a little space for a coffee/tea bar and hung some mugs on the wall. I picked up a curtain rod and some hardware at True Value for a couple dollars. So easy! The sign above the mugs is one I made a while back. It's being sold here along with similar styles if you're interested.

lumber: $26
hardware: $3
pre-stain and stain: $7
Liquid Nails: $3.50
My new little kitchen may have quirks and imperfections, but I'm relieved to have a lot more working space without breaking our budget. This project is perfect for anyone who is living in a temporary space and needs a quick fix. We didn't attach the counter to the dresser or cabinet, so when we move, we can take it with us and use it as is or cut it down to serve another purpose.
I hope this inspires you to take on your own "remodeling" project! And if you know of a cheap way to disguise the carpet and ceiling tiles, let me know...
Since I was already taking pictures of my kitchen, I thought I'd show you a sneak preview of an upcoming post...

... You'll just have to come back for details!
I'm sharing this at missmustardseed.com today.
Now that's pretty awesome! It looks great and I'm glad to see someone who can work with what they are given, great job!
ReplyDeleteTania
Thanks so much for your kinds words, Tania! We're so pleased with how it turned out.
DeleteThis comment has been removed by the author.
ReplyDeletegreat job.....and your ceiling tiles....find some fabric you like and cut so you can wrap the ceiling tiles....I did this for a friends garage...used painters cloth...cut to fit and stapled to the ceiling tiles...(wash first) then I stenciled words the had meaning for her
ReplyDelete